The photos in my listing
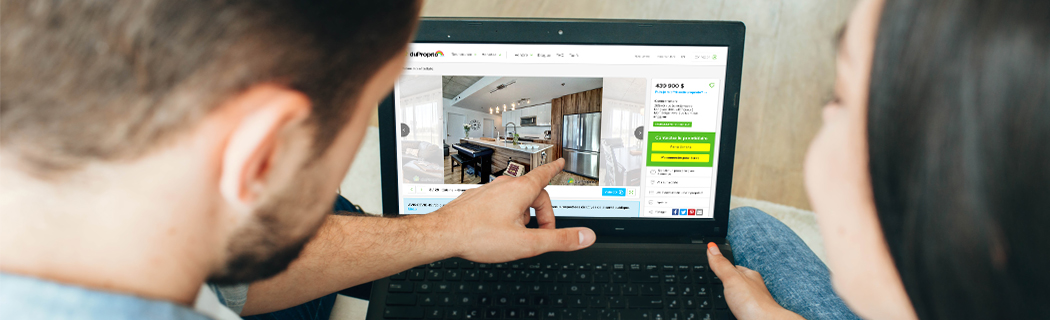
When selling a house, the photos are the first thing that will attract a potential buyer to your property. If a picture is worth a thousand words, imagine how much information a complete album could provide!
Because they are so important, your photos need to be impeccable and represent reality. They must show your home in its best light, to entice the people who see your listing to find out more.
Organize the photos
To optimize your listing, learn how the photo page works.
Photo gallery
The photo gallery contains the available photos that you can add to your listing. Once the representative has added your photos to your file, they will appear in this section. To select them, you need to check the small box provided for this purpose; you can choose several at a time. Don't hesitate to enlarge the view by clicking on the (…), you can then make your selection one at a time with a better appreciation of the photos.
The number of photos you can select will depend on the limit included in your package. 
Photos of My Listing
You will then need to choose the order in which your photos will appear on the site. Ideally, the photos should be arranged according to the logical sequence of a visit, for example, starting with the entrance and the ground floor and finishing with the upper floors and the backyard.
To complete this step, simply select the photos by using the small symbol in the upper left corner of a photo  and drag it to the desired location.
If you wish to remove one or more photos from your listing, simply click in the box provided for this purpose and confirm your choice at the bottom of the screen.
Description
This option allows you to specify the type of room and write a description under each photo, in both French and English. It is not mandatory, but you can use this space to add information about elements not visible in the photo. To proceed, click on the pencil icon available under each photo.
Choosing the Main Photo
The default main photo displayed is the one of the front of the property. If this photo does not do justice to your home or if you believe that your listing would be more attractive if represented by another photo, you can make the change.
To modify the image used in the search results, simply click on the pencil icon of the desired photo and designate it as the main photo. Note that this photo does not necessarily have to be the first photo in your listing; you have the flexibility to choose its order of appearance.
It is recommended to choose a main photo that highlights your property well: the front of your house or building, or your favorite room (open space, living room, or kitchen only).
Also, note that the image of the front should always show the detached garage, if there is one.
Add My Personal Photos
You can add photos of your property to your listing at no cost. It will take 24 to 48 hours to add the photos to your file, for which you will receive a confirmation email.
Upload Your Photos
1. In your Seller space on your main page, click on Photos.
2. At the bottom of the section, in the photo bank, click on Import Photos.
Technical Specifications
- Accepted formats: JPEG, PNG, WEBP
- Minimum dimension: 1600 px x 1200 px
- Maximum size: 15 mb
- Cropping (ratio): 4:3
3. From the Upload area, drag and drop one or more photos.
4. Confirm your work by clicking on Import photos at the bottom of the screen.
Your recently added photo(s) will appear in the gallery photo section with a mention "pending approval."
You do not have to wait for validation to add more photos, if you wish. Whether your new photo is accepted or refused, you will receive a notification in your file. You can then insert it into your listing or submit a new photo, depending on the reasons for refusal.
Our photo tips
To increase your chances of having your photos approved straight off, note the main criteria we will be using:
|
View point
|
Quality
|
|
Content
|
Modifications and copyright
|
 | |
|
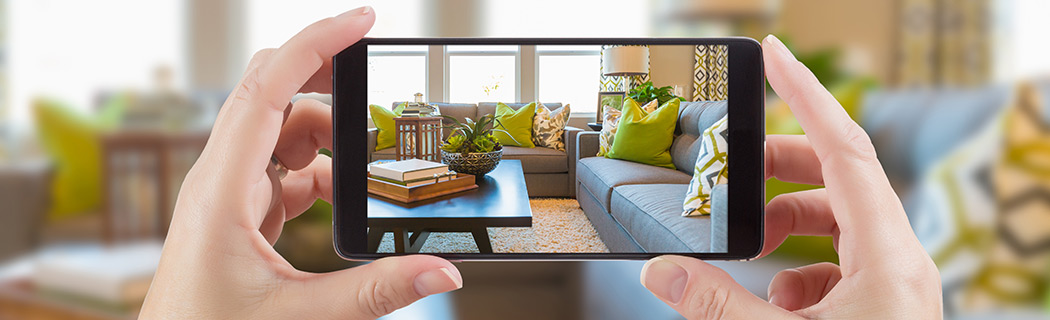
How to take a good photos Position yourself where you can see the entire room. Your camera should be about 5 feet (1.5 metres) off the ground. Tidy up and depersonalize the room. Don’t forget to turn on all lights and open the curtains or blinds for optimal lighting. |
FAQ
Is it possible to download my photos for another use?
To keep them as memories or to optimize your visibility on the web, DuProprio allows you to download the photos of your property. Go to your Seller space in My DuProprio in the Photos section.
1. For the photos in your listing, click on the pencil icon of the desired photo. You will then find the download option in the form of an icon.
2.For the photos in your Photo Bank, click on the (...) and you will find the download option there.
You are allowed to use our photos on another site, as long as you retain the DuProprio logo at the bottom right of the image, provided that it is not a broker's or real estate agency's site.
|
The DuProprio logo As stated in the DuProprio Terms and Conditions, the photos taken by our representatives remain DuProprio’s intellectual property. We are proud of the HDR photos we take, which is why the logo in the bottom right-hand corner must not be removed. |
Can DuProprio take new photos of my property?
If you have done renovation work or want to show your property in a different season, you can have new photos taken at the cost of $179.95 plus taxes. To schedule a photo-taking appointment with one of our representatives, contact our customer service department at 1 866 387-7677.